Featured Products
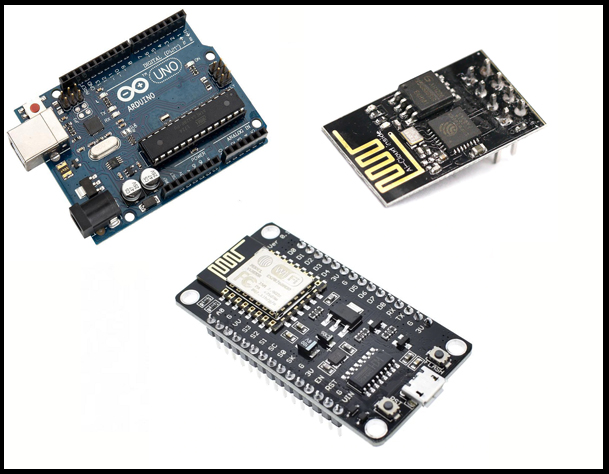
NodeMcu v3 WiFi Module 2.4GHz with ESP8266, CH340 and USB port
2.4GHz WiFi NodeMcu IoT Development board for Arduino and other IOT projects
This module uses the popular ESP8266 microchip with full function WiFi as well as its own microcontroller.
It employs the CH340 USB to Serial converter.
This module can be used to add WiFi to your microntroller project. Can be programmed directly from the Arduino IDE to work independently.
Voltage : 5VDC
Frequency : 2.4GHz
Wireless Standard : 802.11 b/g/n
Dimensions : 57mm x 30mm
|
£6.50
(inc VAT £7.80)£7.00
(inc VAT £8.40)£7.00
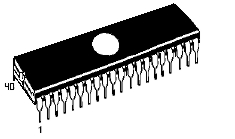
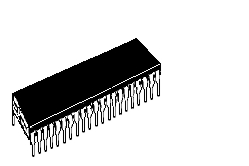
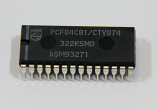
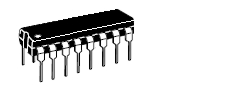
(inc VAT £8.40)8749 Integrated Circuit (IC)
|
IC HMOS-E 8-bit Microcontroller with 2K x 8 EPROM & 128 x 8 RAM 40DIL (D8749H) |
£29.00
(inc VAT £34.80)Arduino Nano Revision 3 Development Board
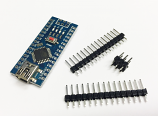
Arduino compatible board with the ATMEGA328P microcontrollerThe Arduino Nano is a small, breadboard-friendly version of the Arduino UNO. It has the same functionality as the Arduino Duemilanove but at a much smaller size. The Arduino Nano is well suited for rapid prototyping and as a great general-purpose microcontroller. Since Arduino is open source hardware & software, anyone can copy the Arduino Nano boards exactly, even using original parts. We are therefore able to supply this Arduino identical compatible board at a fraction of the cost of the original. Key Features Variable Input Voltage (7-12V) Indicator LEDs for immediate feedback Compact Form Factor (45mm x 19mm) 14 Digital I/O pins 8 Analog I/O pins 16 MHz clock speed 32kb flash memory (of which 2kb is used by the bootloader)
Software can be downloaded from the Arduino website here https://www.arduino.cc/en/Main/Software Arduino Quick Start Guide
Installing the Arduino IDE
Connecting the Arduino to a computer
Installing Arduino Libraries
|
£8.75
(inc VAT £10.50)Arduino Uno Revision 3 Development Board
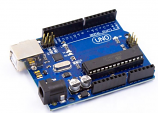
UNO R3 Arduino-compatible board with the ATMega328P, ATMega16U2 and CH340G serial converterSince Arduino is an "Open Source" hardware as well as software; anyone can duplicate the Arduino Uno R3 boards exactly, even using original parts, this means we are able to supply this Arduino compatible board at a fraction of the cost of the original but still working identicaly to the original. The UNO is the best board to get started with electronics and coding. If this is your first experience tinkering with the platform, the UNO is the most robust board you can start playing with. The UNO is the most used and documented board of the whole Arduino family.
Arduino Uno is a microcontroller board based on the ATmega328P. It has 14 digital input/output pins (of which 6 can be used as PWM outputs), 6 analog inputs, a 16 MHz quartz crystal, a USB connection, a power jack, an ICSP header and a reset button. The development board has everything needed to support the microcontroller to help you create an endless amount of projects and if you are just starting then the worldwide Arduino community is full of ideas, guides and help to get you started or help you complete your project.
Supplied
1 x Arduino Compatible Uno R3 development board
1 x USB Cable
Arduino Quick Start Guide
Installing the Arduino IDE
Connecting the Arduino to a computer
Installing Arduino Libraries
|
£14.00
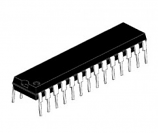
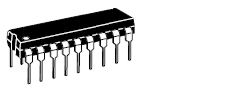
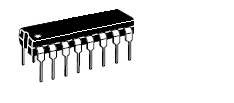
(inc VAT £16.80)ATmega328P IC Microprocessor 28 Pin DIL Integrated Circuit (IC)
|
ATmega328P IC Microprocessor 28 Pin DIL |
£7.50
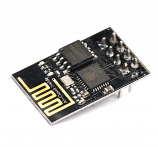
(inc VAT £9.00)EPS8266 WiFi Module 2.4GHz for Arduino with Serial Connection ESP-01
|
2.4GHz Serial WiFi Module for Arduino and other IOT or Microcontroller projects
The popular ESP8266 microchip with full function WiFi plus it's own microcontroller.
Can be used to add WiFi to your microcontroller project or programmed directly from the Arduino IDE to work independently.
It should NOT be powered from 5V or be directly connected to the digital connections on an Arduino item, as this can damage the module.
Supplied with a pre-soldered 8 way header.
Voltage : 1.7-3.5VDC
Frequency : 2.4GHz
Wireless Standard : 802.11 b/g/n
Dimensions : 14mm x 25mm
|
£3.25
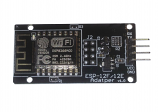
(inc VAT £3.90)EPS8266 WiFi Module 2.4GHz for Arduino with Serial Connection ESP-12F
2.4GHz Serial WiFi module for Arduino and other IOT or microcontroller projects
This module uses the popular ESP8266 microchip with full function WiFi as well as its own microcontroller. This module can be used to add WiFi to your microntroler project or can be programed directly from the arduino IDE to work independently. This module also has a built in regulator so it can be powered directly from 5VDC. Supplied with 8 way header.
Voltage : 5VDC
Frequency : 2.4GHz
Wireless Standard : 802.11 b/g/n
Dmensions : 24mm x 46mm
|
£7.50
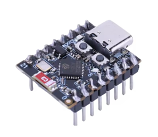
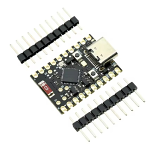
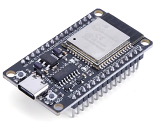
(inc VAT £9.00)ESP32-C3 SuperMini Development Board USB-C WiFi + Bluetooth USB-C
ESP32-C3 Microcontroller Development Module with WiFi and Bluetooth
The ESP32 MCU is a popular WiFi and Bluetooth enabled microcontroller with a wide variety of applications. This development board facilitates the development of IoT devices and can be programmed via USB (using the built-in CH340C USB driver). This compact version provides similar functionality at a smaller size and cost.
Connection: USB-C
Frequency : 2.4GHz
Wireless Standard : 802.11 b/g/n (802.11n up to 150Mbps)
PCB Dimensions : 24mm (L; inc. USB connector) x 18.5mm (W) x 4.1mm (H; inc. USB connector) |
£4.50
(inc VAT £5.40)ESP32-C6 32-bit RISC-V MCU
ESP32-C6 32-bit RISC-V MCU & 2.4 GHz Wi-Fi 6 & Bluetooth 5 (LE) & IEEE 802.15.4
ESP32-C6 general-purpose development board, based on ESP32-C6 32-bit RISC-V MCU
Features
Frequency: 160Mhz 320KB ROM 512KB HP SRAM 16KB LP SRAM WiFi Connectivity Bluetooth Low Energy IEEE 802.15.4 |
£6.50
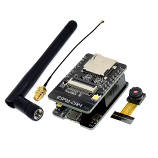
(inc VAT £7.80)ESP32-CAM WiFi Camera Development board USB Bluetooth
ESP32-CAM + ESP-CAM-MB + OV2640 + High Gain Antenna, Development Module set with WiFi and Bluetooth
The ESP32 MCU is a popular WiFi and Bluetooth enabled microcontroller with a wide variety of applications, this set is designed to make it easy to make many still and video based camera projects. This development board set includes the following parts
- ESP32-CAM, this is the main board with the ESP-32S microcontroller module, Micro SD card slot, camera connector and LED flash.
- OV2640, this is the camera module that contains a sensitive 2MP (1632x1232) CMOS image sensor and processor
- ESP32-CAM-MB, this is adaptor board that allows you to program the ESP-32 via USB using the built-in CH340C USB driver IC. It also has a convenient reset button and an IO0 button to connect the IO 0 pin to ground for programming or a programable function.
- High Gain Antenna, this can be used instead of the on board antenna to give this kit a longer range for your WiFi. To use this you will need to move a zero Ohm resistor. Specifications WiFi: 802.11b/g/nBluetooth: BLE Cpu frequency: 240MHz Ram: 520Kb SRAM, External 4Mb QSRAM Supports: UART/SPI/I2C/PWM/ADC/DAC and other interfaces OV2640 and OV7670 cameras (OV2640 supplied) Micro SD card multiple sleep modes Embeded LWip and reeRTOS STA/AP/STA+AP modes |
£12.50
(inc VAT £15.00)ESP32-DevKitC-32D Development Board USB-C WiFi + Bluetooth Micro USB
ESP32-DevKitC-32D Microcontroller Development Module with CP2102, WiFi and Bluetooth
The ESP32 MCU is a popular WiFi and Bluetooth enabled microcontroller with a wide variety of applications. This development board facilitates the development of IoT devices and can be programmed via USB (using the built-in CP2102 USB driver).
Connection: Micro USB
Frequency : 2.4GHz
Wireless Standard : 802.11 b/g/n (802.11n up to 150Mbps)
Dimensions : 52mm x 28mm x 10mm
For full documentation please see the datasheet in the files tab |
£7.50
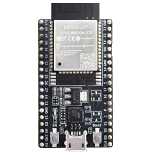
(inc VAT £9.00)ESP32-WROOM-32D Development Board USB-C WiFi + Bluetooth USB-C
ESP32-WROOM-32D Microcontroller Development Module with WiFi and Bluetooth
The ESP32 MCU is a popular WiFi and Bluetooth enabled microcontroller with a wide variety of applications. This development board facilitates the development of IoT devices and can be programmed via USB (using the built-in CH340C USB driver).
Connection: USB-C
Frequency : 2.4GHz
Wireless Standard : 802.11 b/g/n (802.11n up to 150Mbps)
Dmensions : 52mm x 28mm x 10mm |
£6.50
(inc VAT £7.80)£15.00
(inc VAT £18.00)NodeMcu v3 WiFi Module 2.4GHz with ESP8266, CH340 and USB port
2.4GHz WiFi NodeMcu IoT Development board for Arduino and other IOT projects
This module uses the popular ESP8266 microchip with full function WiFi as well as its own microcontroller.
It employs the CH340 USB to Serial converter.
This module can be used to add WiFi to your microntroller project. Can be programmed directly from the Arduino IDE to work independently.
Voltage : 5VDC
Frequency : 2.4GHz
Wireless Standard : 802.11 b/g/n
Dimensions : 57mm x 30mm
|
£6.50
(inc VAT £7.80)£2.00
(inc VAT £2.40)£1.50
(inc VAT £1.80)£4.50
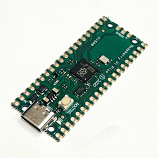
(inc VAT £5.40)Raspberry Pi Pico RP2040 development Board
Raspberry Pi Pico RP2040 development board
This module uses the popular RP2040 microchip with full function
|
£3.50
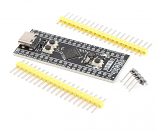
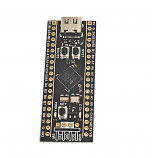
(inc VAT £4.20)ST STM32F401CCU6 32-bit Arm Cortex Development Board
|
STM32F401CCU6 32-bit Arm Cortex Development Board MCU datasheet can be found here
Features:
|
£6.50
(inc VAT £7.80)ST STM32F411CEU6 (WeAct Black Pill V2.0) 32-bit Arm Cortex Development Board
|
STM32F411CEU6 32-bit Arm Cortex Development Board MCU datasheet can be found here
Features:
|
£9.50
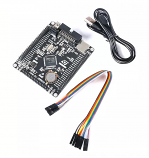
(inc VAT £11.40)STM32F407VET6 32-bit Arm Cortex Development Board STM32_F4VE
|
STM32F407VET6 32-bit Arm Cortex Development Board
MCU datasheet can be found here
Features:
|
£22.50
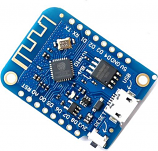
(inc VAT £27.00)Wemos D1 Mini v3 IoT WiFi & Bluetooth Microcontroller Prototyping Board
2.4GHz WiFi NodeMcu IoT Development board for Arduino and other IOT projects
This module is based on the ESP-8266EX chip, which provides WiFi and Bluetooth connectivity for your IoT projects. Can be used with various other microcontrollers or stand-alone.
Features
11 Digital I/O pins (all pins support interrupt, PWM, I2C, one-wire except D0) 1 Analog input (3.2V Max) Micro USB connector Compatible with MicroPython, Arduino, nodemcu or can be used stand-alone |

